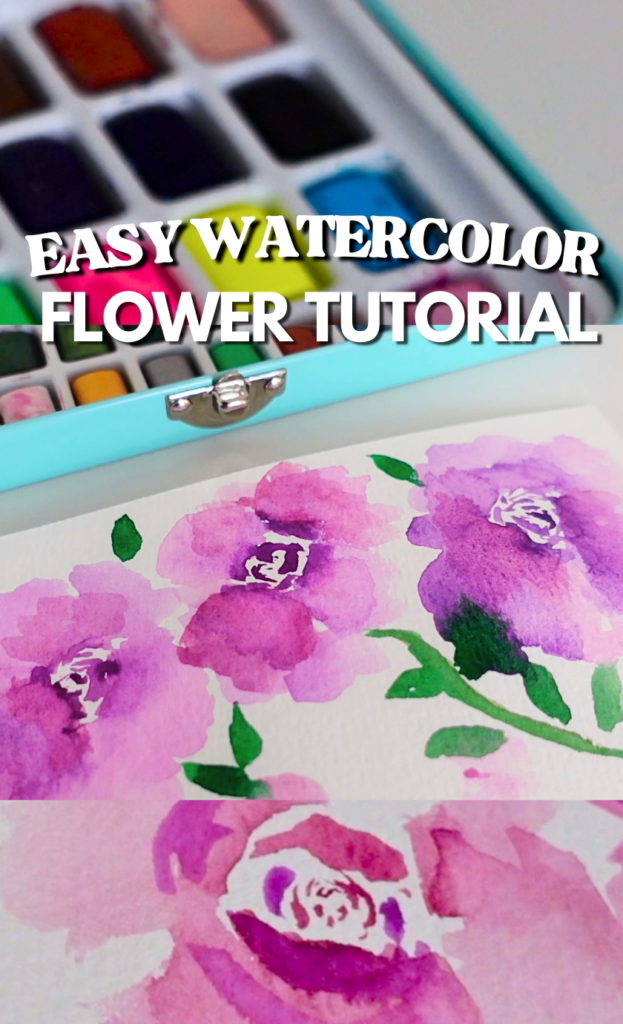
How To Paint Watercolor Flowers (The Easy Way!)
This site contains affiliate links. I may earn a small commission, at no extra cost to you.
Creating Stunning Botanical Watercolor Bookmarks: A Step-by-Step Guide
Welcome back to my blog! If you’re new here, I’m Kimberly, the art educator on By Kimberly Faye. My mission is to share creative, simple, and fun projects that brighten your day. Today, we’re diving into the enchanting world of watercolor to create beautiful botanical bookmarks. Whether you’re an experienced artist or just starting, this project is easy, quick, and super fun. Plus, these bookmarks make wonderful gifts or lovely additions to your personal book collection. So, let’s get started!
Watch Youtube Video Here:
Materials You’ll Need:
To begin, gather the following materials:
- Watercolor paper
- Watercolor paints
- Paintbrushes
- A cup of water
- Paper towels
- Your imagination!
I’ve been loving my watercolor palette from Amazon, which arrived quickly and included everything I needed to get started, including paintbrushes and even some sample watercolor bookmarks. The wide variety of colors has been a game-changer, and I’m thrilled to share this creative journey with you.
Step 1: Prepare Your Palette and Paintbrush
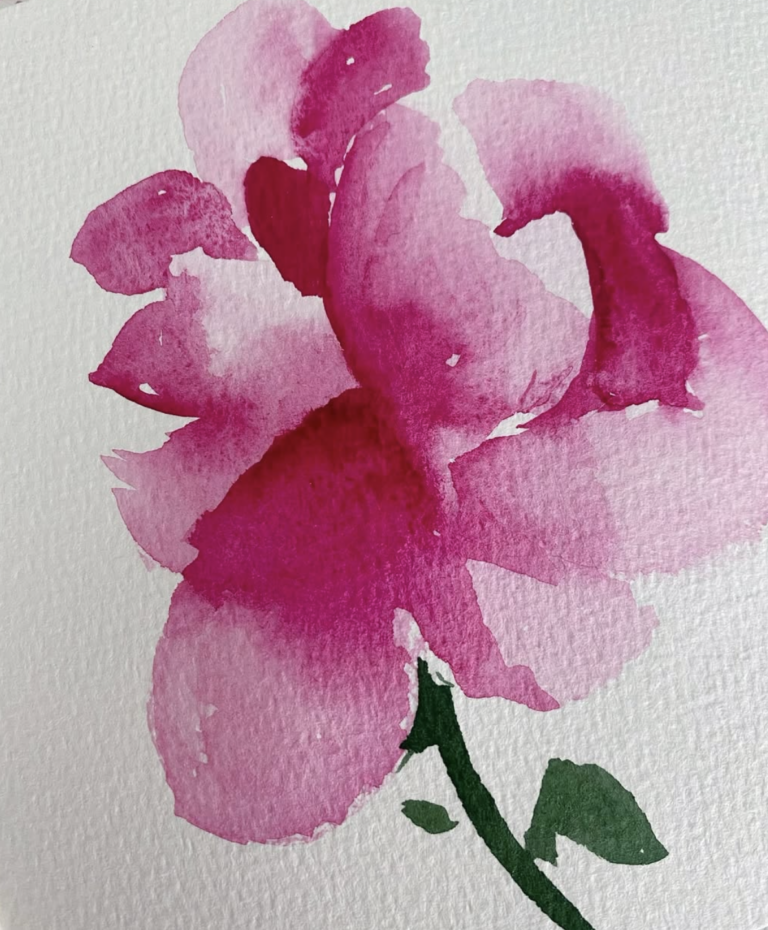
Begin by dipping your paintbrush into the water to saturate your chosen color. For this tutorial, I started with a beautiful purple hue. Next, use your brush to draw an imaginary circle representing the bud of a flower. Remember, it doesn’t have to be perfect. This loose, organic approach is all about having fun and enjoying the process.
Step 2: Create the Flower Petals
As you paint, focus on creating soft, flowing strokes. Start at the center of your flower and gradually move outward. To create dimension, dip your brush back into the water without adding more pigment, allowing the color to fade as you form the petals. Trust the process, and don’t be afraid to experiment. Even if you’re not satisfied initially, keep adding layers and brushstrokes—you’ll see your flower come to life!
Step 3: Add Dimension with Multiple Colors
While your initial layer is still wet, try adding a second color to your petals. This creates a beautiful dimensional effect and makes your flowers pop. Watercolors offer a wonderful push-and-pull effect with pigments, so embrace the balance and enjoy the moment.
Step 4: Add Stems and Leaves
To complete your design, paint delicate stems and leaves. This step is optional, but it’s therapeutic and adds a lovely contrast to your flowers. Use varying shades of green or complementary colors to enhance your artwork.
Step 5: Final Touches
As your flowers dry, take the opportunity to fill your canvas with more blooms, experimenting with different colors or sticking to a monochromatic palette. The beauty of watercolors lies in their versatility and the joy of creating something uniquely yours.
Why Watercolor?
Watercolor painting is an art form that’s as relaxing as it is rewarding. The fluidity of the medium encourages mindfulness and creativity, allowing you to immerse yourself in the present moment. Plus, these bookmarks are not only practical but also a wonderful way to share your creativity with others.
Join the Creative Journey
Thank you for joining me in this art session! I had so much fun creating these botanical bookmarks with you. If you enjoyed this tutorial, don’t forget to like this post, subscribe to my YouTube channel, and follow me on Instagram at @ByKimberlyBlog. For weekly updates and more creative inspiration, visit my website at ByKimberlyFaye.com and sign up for my email newsletter.
I can’t wait to see your watercolor creations! Be sure to share your artwork and tag me on Instagram. Until next time, take care and happy painting!